
Two days ago C asked me if I’d ever candied ginger before.
“Um,” I replied, “I’ve eaten candied ginger….Does that count?”
And so the quest for candied ginger recipes began.
Can you guess who came to the rescue? None other than David Lebovitz. That man is a GENIUS and SO.FUNNY.
At least online. I’m sure he’s delightful in person, I mean he writes about cooking and pastries FROM PARIS! My latest favorite anecdote of his was a before and after photo he took of his kitchen counter. Before was all empty and beautiful – he was applying some wood conditioner and thought to take a photo. The after – reality set in and the counter is absolutely covered in STUFF. It is hilarious how much he resembles my life!
I digress.
Mr. Lebovitz gives delightful recipes and pretty easy to follow directions.
You should buy one of his books. They’re pretty great too.
So he made candied ginger and so we did to. C was in charge of the washing and slicing – well he was until he sliced his thumb open. THAT wasn’t fun. So after much washing and cleaning and band-aiding, I took over. We finished and simmered the ginger slivers in a simple syrup and then laid them out to dry overnight. This morning I rolled the said slivers in white sugar and took some lovely photos. Well, I think they’re lovely.
They make me wanna lick my computer screen.
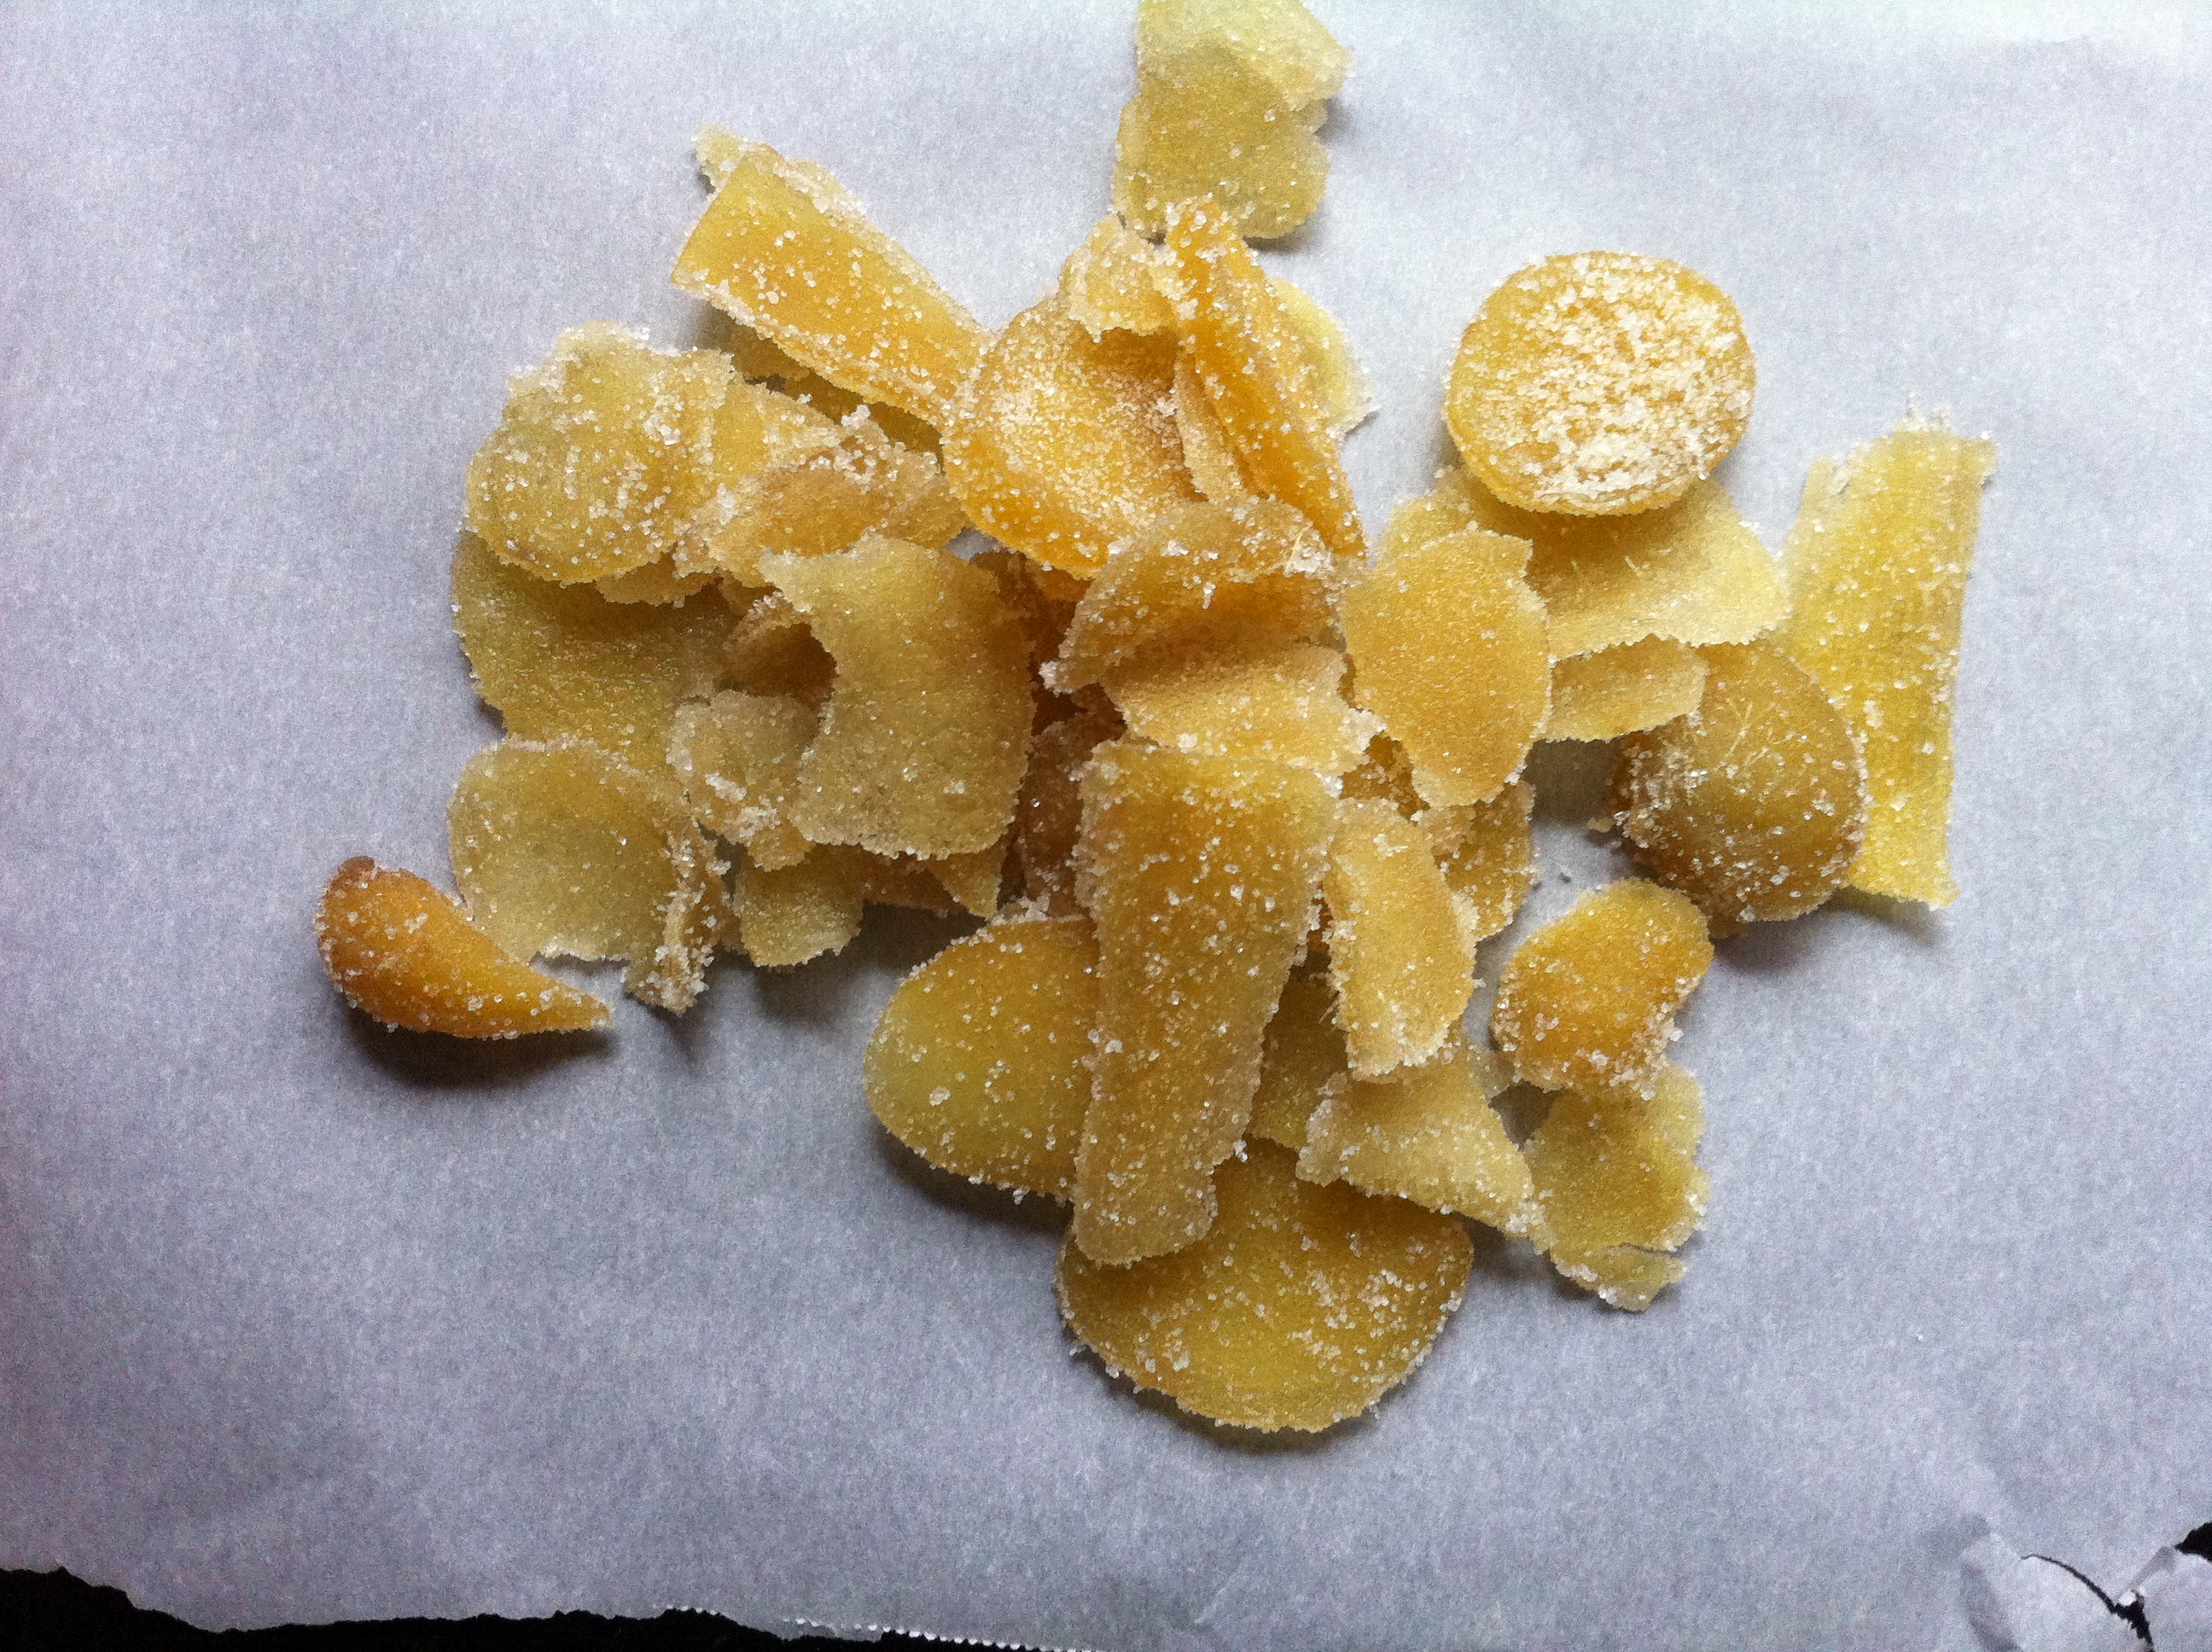
Pile o’ Happy
Candied Ginger by David Lebovitz
Dairy-FREE, Gluten-FREE
Ingredients:
BTW: You don’t need a candy thermometer to make this. Simply keep an eye on the pot and when the liquid is the consistency of thin honey, it’s done and ready to go.
1 pound (500g) Fresh Ginger, peeled
4 cups (800g) Sugar, plus additional sugar for coating the ginger slices, if desired
4 cups (1l) Water
pinch of Salt
How To:
1- Slice the ginger as thinly as possible. It can’t be too thin, so use a sharp knife.
2- Put the ginger slices in a non-reactive pot, add enough water to cover the ginger, and bring to a boil. Reduce heat and let ginger simmer for ten minutes. Drain, and repeat, simmering the ginger slices one more time.
3- Mix the sugar and 4 cups (1l) water in the pot, along with a pinch of salt and the ginger slices, and cook until the temperature reaches 225F (106C.) **Mine never got over 105ºC.
4- Remove from heat and let stand for at least an hour, although I often let it sit overnight. Or if you want to coat the slices with sugar, drain very well while the ginger is hot, so the syrup will drain away better. **I left mine to cool overnight on a sheet of foil. Parchment paper would totally work too.
5- Store ginger slices in its syrup, or toss the drained slices in granulated sugar. Shake off excess sugar, and spread the ginger slices on a cooling rack overnight, until they’re somewhat dry. The sugar can be reused in a batter or ice cream base, or for another purpose.
Storage: The ginger, packed in its syrup, can be stored in the refrigerator for up to one year. If you’re concerned with it crystallizing, add a tablespoon or two of corn syrup or glucose to the sugar syrup at the beginning of step #3. If tossed in sugar, the pieces can be stored at room temperature for a few months.

Close Up is EVEN BETTER
*clapping*

Awesome! I love candied ginger in anything, never thought to make my own. Good job! =)
Do you have to peel the ginger? That’s a lot of work. Could you use a mandoline to slice it? Or is a knife the way to go?
I liked your storage options. Does it need to be refrigerated at all? Thanks.
You should peel the ginger – but that’s super easy. Use a spoon to gently scrape the skin away. It’s very thin and scrapes right off.
Our mandolin is waaaaay to dull to cut through the ginger, so we opted for sharpening a knife and using that. If we can figure out how to sharpen our mandolin we’re TOTALLY gonna use that next time.
Mom – if you’re lucky there’ll be a fresh batch for you next week. *grin*
It was my pointer and it didn’t even bleed. It was worth it after tasting them. A mandolin would have been a better idea. Next time.
Aaaaamen.