
Can you hear me _quite literally_ JUMPING around the kitchen yelling “WE DID IT!”
YAYAYAYAYAYAYAY!
I’ve been doing A.LOT. of rather intense research about why my chocolate hasn’t maintained its shine. Turns out chocolate needs TWO things to be shiny – it needs to be tempered (a very finicky process of heating and cooling your chocolate by teeny tiny increments – and you need a digital thermometer to measure the process by…unless you’re a chocolate savant or have been doing this stuff since, like birth). #2 – chocolate gets shiny when it dries in a mold – turns out chocolate takes on the pattern of whatever it cools against. Laid against burlap – it’d be all…burlap-y. Against a chocolate mold – it’s SHINY!!

A little dark, but you can see the shine. Now can you see me clapping?
Today I bought a chocolate mold ($1) and a digital thermometer ($15). I spent nearly two hours heating, cooling, re-heating, SWEARING and starting all over again (and then again) before I got it right.
WHAT a pain in the ass tempering is.
Seriously.
I told C I saw a machine for sale that keeps your chocolate at the temper stage for up to 12 hours.
His response: BUY.IT.
Chocolate that’s not dried against anything will have a matte finish.
Instructions for Tempering Chocolate from David Lebovitz
Ingredients & Tools Needed:
1 lb. chocolate cut into chunks **I’ve only tried this (so far) with a hunk of bar chocolate. I will have to try using ye olde Nestlé chips one day soon…
Digital thermometer **Get one that tells the temp in increments and can be read in both C and F = VERY helpful (I got mine at Target)
Saucepan of simmering water – not boiling
Metal mixing Bowl
Large pot/mixing bowl of ice and water = an ice bath to help cool down the choc
Rubber spatula – a wooden spoon will retain moisture. That’s a bad thing when melting chocolate. Bad bad bad.
How To:
1- In your dry bowl set over simmering water, melt 3/4 of your chocolate pieces to about 115º-120ºF (46º-49ºC.)
2- Remove from the heat ONE or TWO degrees before you hit your target temp. TRUST ME – it’ll keep rising. Add in your last 1/4 of the chocolate (your seed chocolate) and stir stir stir (motion equals good crystallization, aka, tempering). Let the temperature cool to the low 80ºsF (27ºC). To do this, I took the bowl of melted chocolate off the simmering pot and set it on the ice-filled bowl to help cool. I also used the spatula to scrape the chocolate back and forth, giving the heat a chance to escape.
3- Now for the last -and most important- step: Bringing the chocolate up to the perfect temperature. This occurs in most dark chocolates between 88° and 91° F (31º-32ºC). You take your mixing bowl outta the ice bath and stick it back on top of your pan of simmering water (when I took the chocolate off the heat I turned the burner down to low, so it’d stay warm). I stirred this a few times to re-warm – BEFORE-WARNED: It reheats ÜBER fast. Über ÜBER fast. Seriously fast. So fast that I had to restart the entire freakin’ process TWICE. Seriously, keep a very close eye on the temp when re-heating.
(Milk chocolate tempers at 86º-88ºF, 30º-31ºC. Please note that chocolates can vary, so check with manufacturer if unsure about your particular chocolate.)
4- Remove what’s left of the chunk of ‘seed’ chocolate, and your chocolate is dip-worthy: you can dip all the chocolates you want and all will be perfectly tempered. Don’t let it get above 91° F (32ºC) or you’ll have to begin the process all over again. If it drops below the temperatures, rewarm it gently to bring it back up – I did this by keeping the pan of simmering water on warm, like I said.
Once my choc was ready I used the chocolate in two ways:
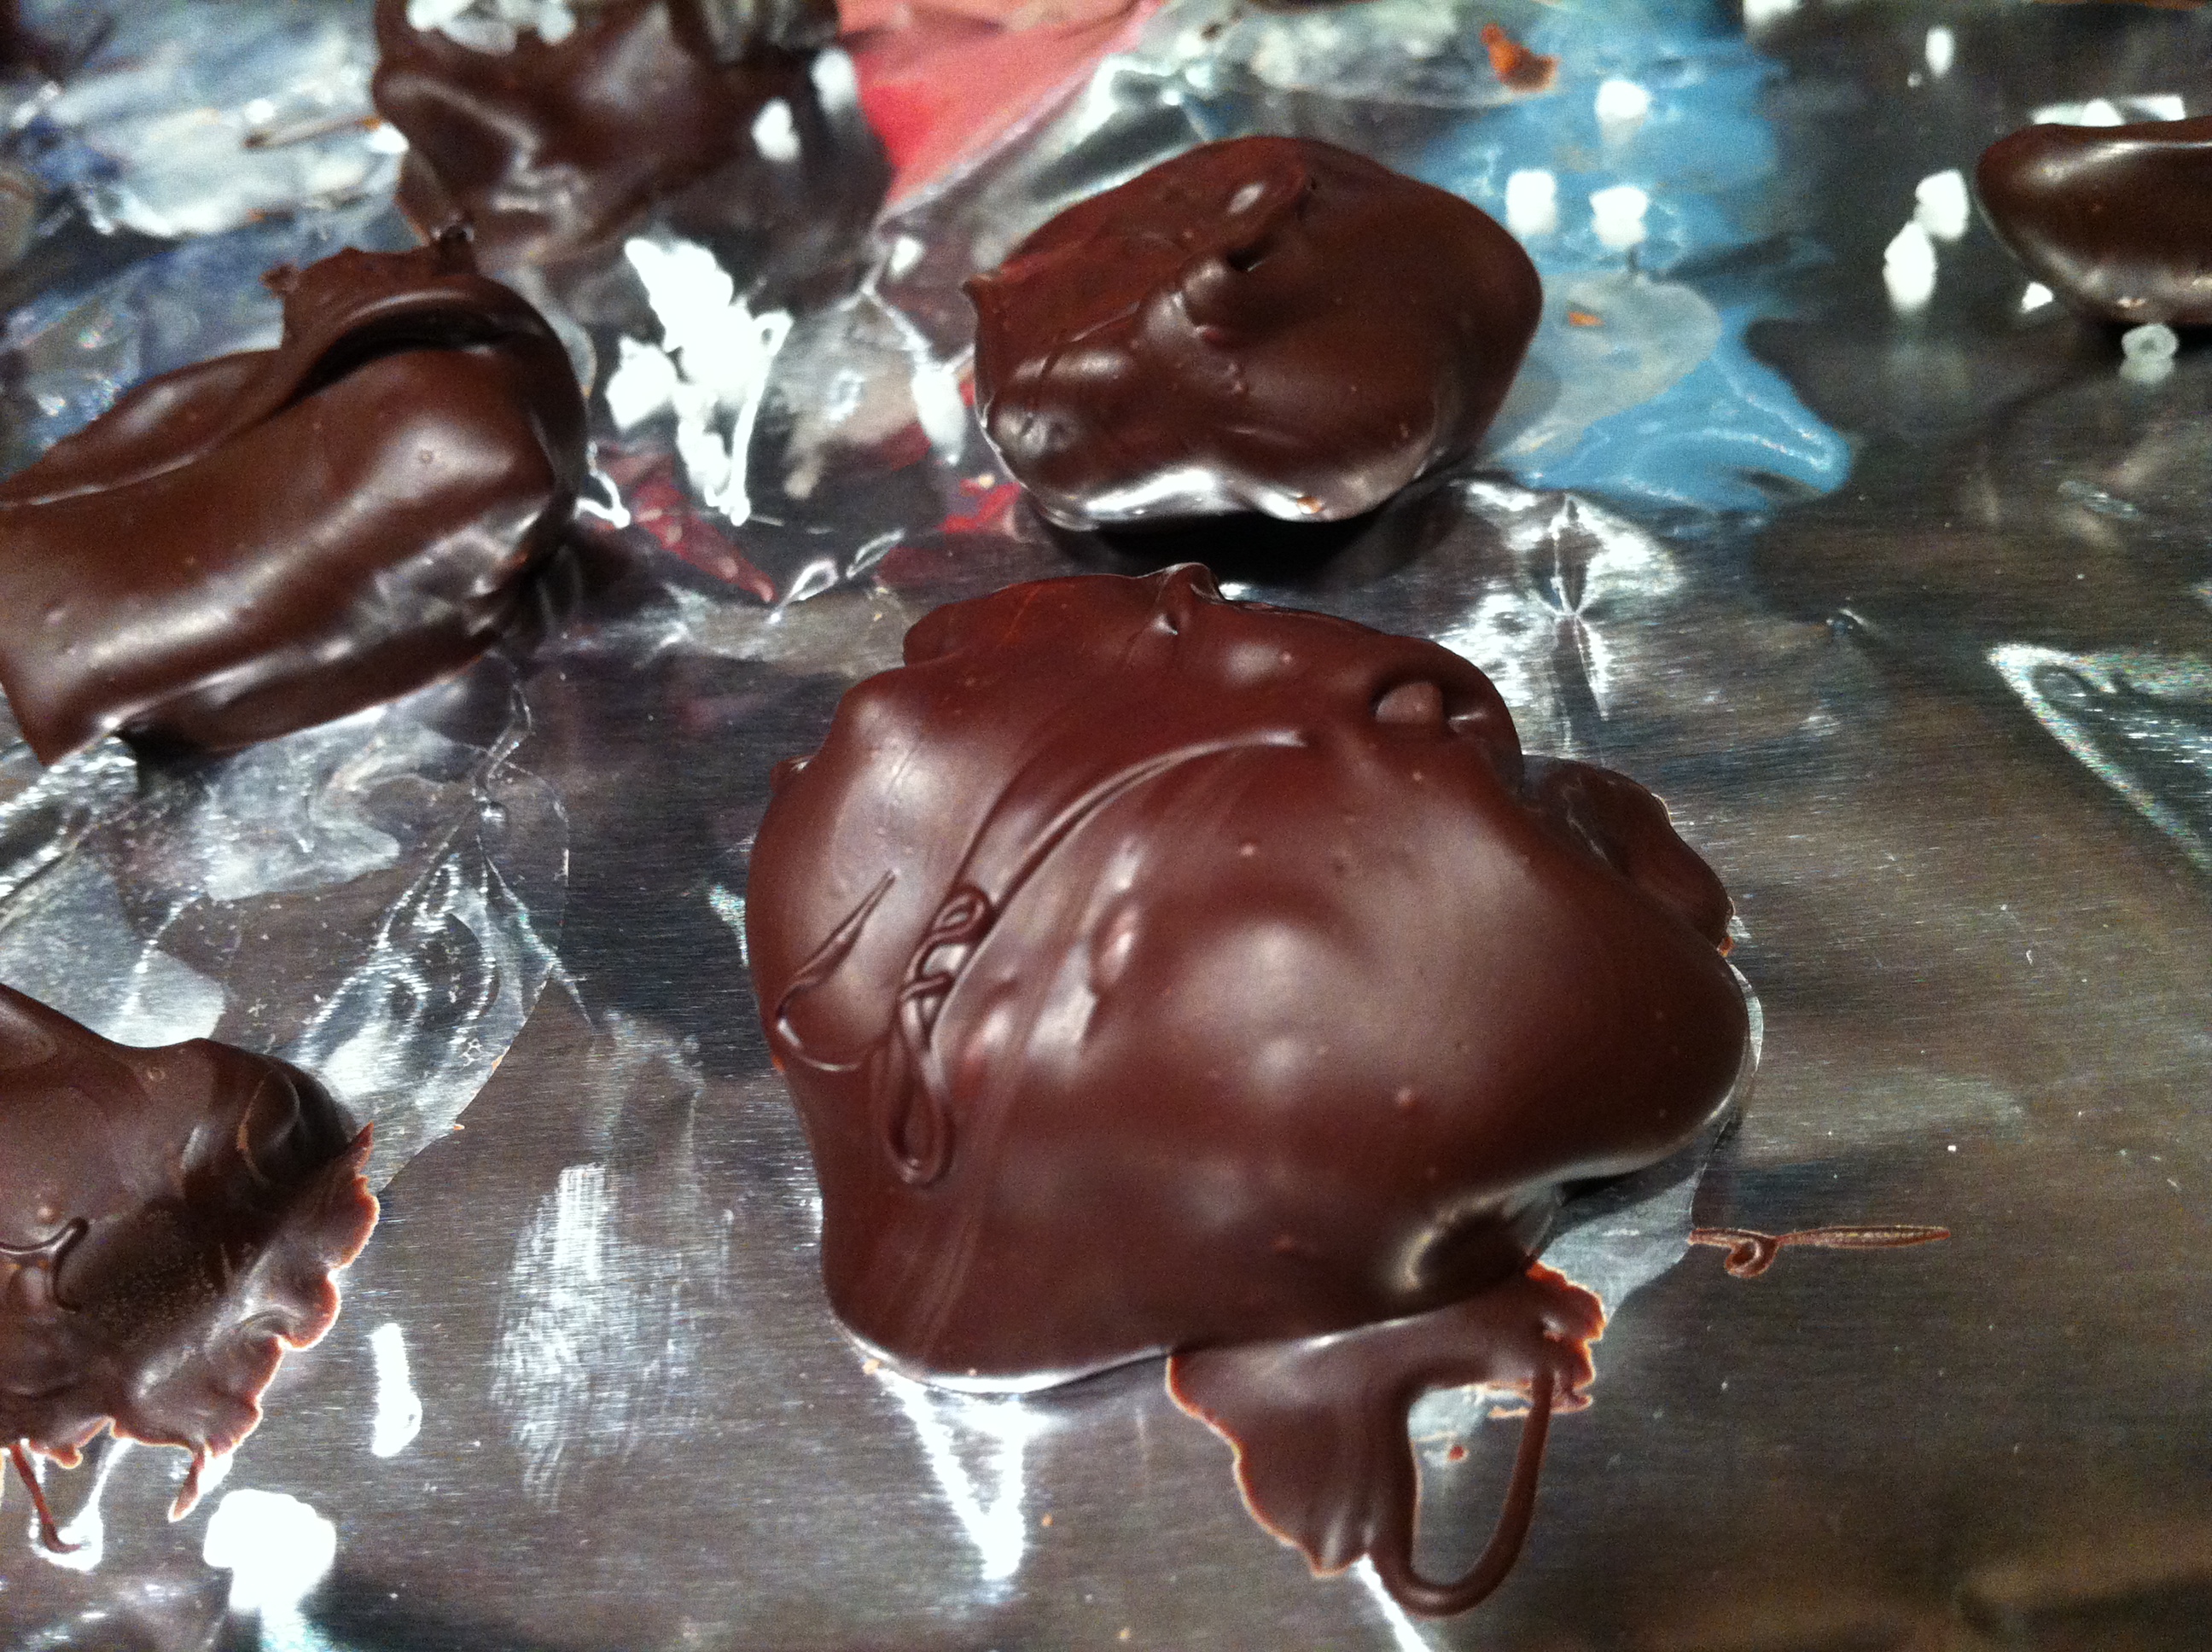
1) I dipped 1/2b. of candied jalapeños in it, then set them to dry with a few grains of sea salt on top. *clapping*

Everyone needs an up close view of chocolate.
2) Then I _literally_ painted the inside of the chocolate mold with a brand new paintbrush. I stuck that in the fridge for 5 minutes, then filled the cavity with candied jalapeños. We filled the rest of the cavity with melted chocolate and shoved them back in the fridge for 15 minutes. Not perfect. First attempts rarely are, but they ARE shiny!!!!

WE DID IT!!!
Shiny chocolate makes me happy.

When we’ve made chocolate, we melted Gulf Wax into the chocolate. That helps with the binding as well as the shine!
Doesn’t wax affect the taste? All I can picture are those wax bottles from my childhood, the candied ones with the colored sugar water inside…
I’m worried I’d turn good choc into Hershey’s.

How did the wax change your flavors? What chocolates did you use? Were you making candies? Filled chocolates? Dipping fruit?
Thanks!
Wax did not affect flavor or taste. I totally LOVED those wax bottles from our childhood! Hershey’s is good frozen! We used semi-sweet chocolate chips from Nestle and Dark Chocolate baking squares. We just made chocolates just to see if we could make em! Not filled. No fruit.
Congrats on the succeeding where most failed 🙂
It does look bright and shiny, now does the shininess affect taste?
Nope. Shininess happens because the choc is drying against something flat. The jalapeños that I dipped, I cooled on foil – the tops were matte finish because they air dried. The bottoms were shiny bec they were against the foil.
*much clapping*